
Preparation is more than making a wall look smooth. Grease, loose coating, moisture and incompatible finishes can prevent adhesion. Inspect before buying paint so the repair method fits the actual surface.
In this guide
Tools and preparation
- Surface-compatible cleaner.
- Cloths.
- Drop cloths.
- A light.
- Compatible filler.
- The paint system’s preparation instructions.
Time is a planning estimate, not a timed field test. Material prices vary; check the correct parts and local prices before buying.
Steps and safe checks
1. Inspect under useful light
Look across the wall for peeling, greasy areas, cracks and stains. Identify the wall material and coating where possible. Mark damp or soft areas for investigation instead of treating them as painting defects.
2. Clean appropriately
Use a cleaner compatible with the existing coating and the new paint instructions. Do not saturate drywall. Rinse when required and let the wall dry fully before evaluating repairs.
3. Repair minor sound defects
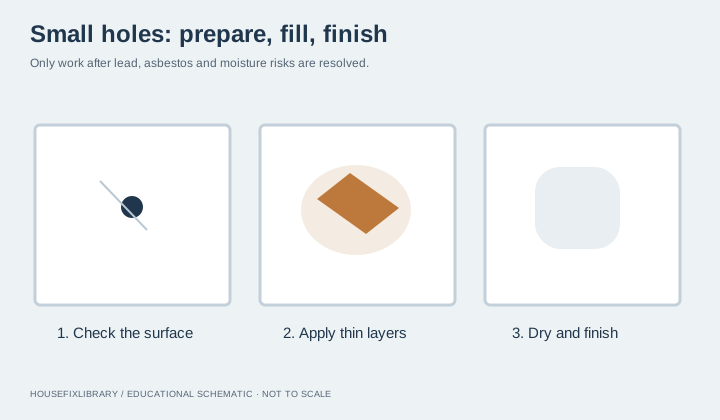
Once hazardous-material issues are resolved, fill small holes using a suitable patching product. Follow its drying requirements. Loose plaster, unstable coatings or moving cracks need their cause addressed before painting.
4. Check the primer system
Read the paint label for surface preparation and primer requirements. Test a small inconspicuous area where compatibility is uncertain. Allow the specified drying time and look for adhesion or appearance problems before continuing.
Check the result
The prepared wall should be clean, dry and stable. A test coat that lifts, wrinkles or shows an unresolved stain is a reason to stop and reassess.
Common mistakes
Painting over grease or active moisture hides symptoms temporarily. Treating every glossy coating with the same abrasive method can also create dust and compatibility problems.
When to call a professional
Use qualified help for suspected hazardous coatings, extensive peeling, water damage or uncertain substrate condition. A coating supplier can advise on a compatible primer system.
What can happen if you postpone it?
Painting over loose, dirty or damp material can lead to poor adhesion and another round of preparation. Resolving the surface condition first protects the effort spent finishing.
Prevent a repeat
Save product labels and note the rooms in which each finish was used. Repair leaks and improve moisture control before repainting a repeatedly damaged area.
Sources and scope
Source check: November 4, 2026. AI-assisted educational writing checked against the linked documentation; no firsthand testing or licensed professional review is claimed. Manufacturer instructions and applicable local requirements take priority.