
Split or detached caulk can let water into a vulnerable joint. A new bead needs clean bonding surfaces and the correct sealant. Repeated failure can signal movement, poor preparation or a leak that caulk alone cannot repair.
In this guide
Tools and preparation
- Compatible kitchen-and-bath sealant.
- Plastic removal tool.
- Caulk gun if required.
- Finishing tool.
- Masking tape.
- Approved cleaner.
Time is a planning estimate, not a timed field test. Material prices vary; check the correct parts and local prices before buying.
Steps and safe checks
1. Check the joint and product
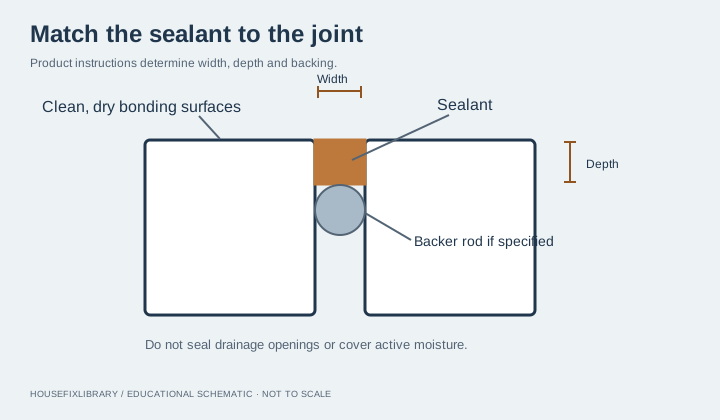
Identify the fixture material and existing joint design. Choose a sealant approved for that surface, water exposure and movement. Follow the manufacturer’s dimensions and instructions about backing; not every bathroom gap is a caulk joint.
2. Remove failed material carefully
Use a surface-compatible tool to remove the old bead without cutting into a membrane or damaging the tub. Follow any remover’s directions. Stop if the area underneath is soft, wet or unexpectedly damaged.
3. Prepare and apply
Clean away residue and let the bonding surfaces dry fully. Apply the product in a continuous bead within its stated joint limits. Tool it as directed; adding water or soap is not approved for every sealant.
4. Protect the cure
Keep the joint undisturbed and dry for the manufacturer’s full water-exposure interval. Tack-free time and full cure are different. Do not assume an overnight wait is sufficient for every product or condition.
Check the result
After curing, inspect for adhesion, gaps and continuity. If the seal pulls away or water appears behind the surface, stop using the affected area as appropriate and investigate.
Common mistakes
Do not lay new silicone over old residue, paint nonpaintable sealant or use cosmetic caulk to conceal mold and water damage.
When to call a professional
Use a qualified contractor for failed waterproofing, soft walls, recurring leaks, moving fixtures or an uncertain joint design.
What can happen if you postpone it?
A failed caulk joint can allow water into vulnerable areas. Recaulking over damp or damaged material can conceal the condition and cause another failed bead.
Prevent a repeat
Keep the area clean with compatible products and use ventilation. Inspect the bead periodically instead of waiting for visible water damage.
Sources and scope
- DAP: Choose the Right Caulk or Sealant
- DAP: How to Caulk and Seal a Bathroom
- EPA: A Brief Guide to Mold, Moisture and Your Home
Source check: November 4, 2026. AI-assisted educational writing checked against the linked documentation; no firsthand testing or licensed professional review is claimed. Manufacturer instructions and applicable local requirements take priority.